 Save
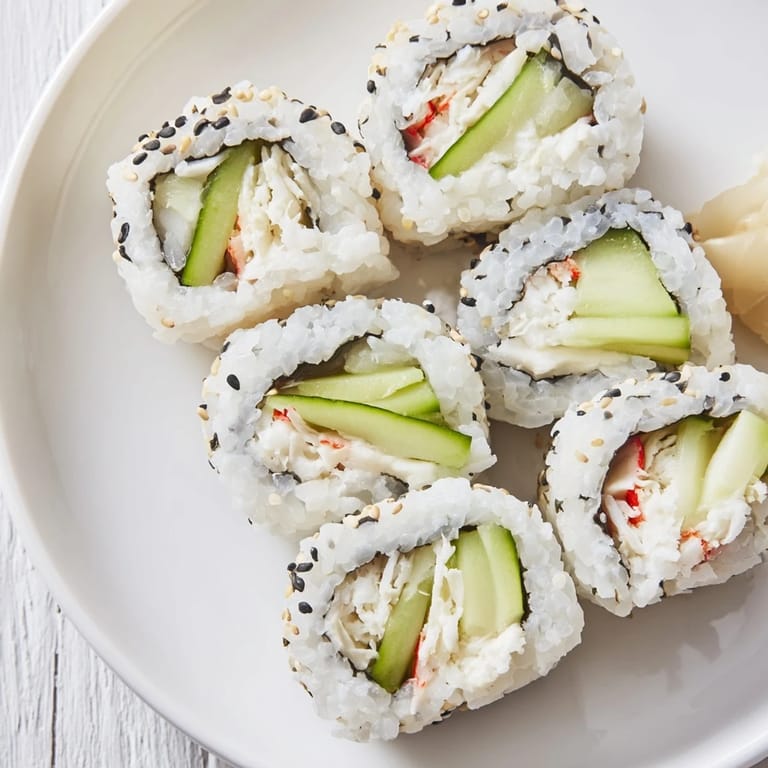
Save My first California roll didn't come from a fancy sushi restaurant—it came from a Thursday night in my tiny apartment kitchen when I was determined to prove I could make sushi at home. I'd watched my neighbor roll them effortlessly at a potluck and felt inspired to try, armed with nothing but YouTube tutorials and a bamboo mat I'd found at a random kitchen supply store. That first roll was lumpy, the rice was warm when it should've been cool, and I nearly tore the nori in half, but when I bit into it, something clicked. It tasted like possibility.
I remember making these for a dinner party where someone mentioned they'd never had homemade sushi before, and the look on their face when they realized I'd rolled them myself in my own kitchen was worth every moment of concentration it took. That night, California rolls became less about following instructions and more about creating something with my hands that people genuinely loved.
Ingredients
- Sushi rice: This is where the magic starts—short-grain sushi rice has the right starch content to hold together, and rinsing it thoroughly removes excess starch so you get separate, fluffy grains rather than a sticky blob.
- Rice vinegar, sugar, and salt: These three create the seasoning that makes sushi rice distinctly different from plain rice; the balance matters, so don't skip measuring properly.
- Crabmeat or imitation crab: Imitation crab works brilliantly here and is honestly what most restaurants use, so don't feel bad about taking that shortcut.
- Avocado: Choose one that's ripe but still firm enough to slice cleanly; a mushy avocado falls apart when you roll and ruins the whole vibe.
- Cucumber: Seeding it prevents watery rolls that fall apart when you bite into them.
- Nori sheets: The seaweed wraps everything together; store them in an airtight container because humidity is their enemy.
- Sesame seeds: Toasted seeds add flavor and a pleasant texture that raw seeds simply don't deliver.
Tired of Takeout? 🥡
Get 10 meals you can make faster than delivery arrives. Seriously.
One email. No spam. Unsubscribe anytime.
Instructions
- Prepare the rice foundation:
- Rinse your sushi rice under cold running water, stirring gently with your fingers until the water runs completely clear—this takes patience but removes the starch that would make your rice gluey. Combine with water, bring to a boil, cover, and let it simmer for 15 minutes on low heat, then remove from heat and let it rest covered for another 10 minutes, which allows the grains to finish cooking in their own steam.
- Season while warm:
- Mix your rice vinegar, sugar, and salt in a small bowl until everything dissolves completely, then gently fold this seasoning into the hot rice using a wooden spoon or rice paddle—folding rather than stirring keeps the grains intact. The rice will glisten as it cools to room temperature, which is the perfect moment to start rolling.
- Set up your rolling station:
- Place your bamboo mat on a clean surface, cover it with plastic wrap to prevent sticking, and lay your nori sheet shiny side down on top. The plastic wrap between the mat and the nori is the small detail that changes everything about how smoothly this process goes.
- Spread the rice:
- Wet your hands with water (this prevents rice from sticking to your skin), then spread about three-quarters of a cup of cooled rice evenly across the nori, leaving a two-centimeter border at the top. The border is crucial because that's where you'll seal the roll with a little water.
- Flip and fill:
- Carefully flip the whole thing so the rice side faces down and the nori is now on top facing you, then arrange your crab, avocado, and cucumber strips in a thin line along the bottom edge, adding a thin stripe of mayonnaise if you like that creamy element. Less filling than you think feels right actually works better—an overstuffed roll won't seal properly.
- Roll with intention:
- Use the bamboo mat to help you roll the sushi away from you, pressing gently as you go to create a tight cylinder that holds together. When you reach the end, seal the edge with just a tiny bit of water on your fingers to help the nori stick to itself.
- Slice and serve:
- Wet a sharp knife and slice your roll into six pieces, wiping the blade between cuts so you get clean edges instead of ragged ones. Serve immediately with soy sauce, pickled ginger, and wasabi on the side.
 Save
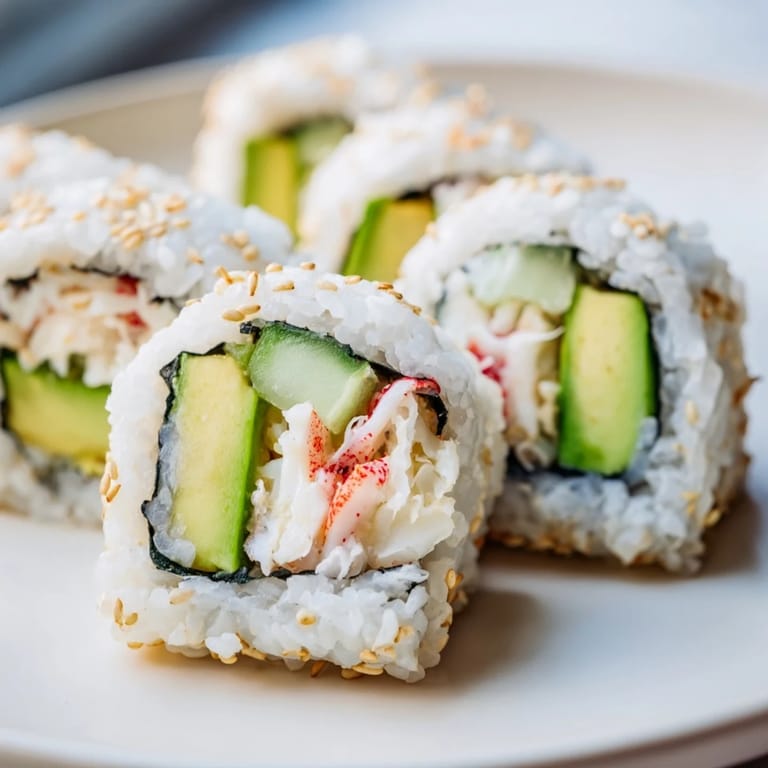
Save There's a moment when you finish your first perfect roll—when you lift it with both hands and realize it's actually stayed together—that feels genuinely triumphant. I've made hundreds since that Thursday night, and that same small thrill hasn't really gone away.
Why California Rolls Changed My Cooking
Learning to roll sushi taught me that restaurant-quality food doesn't require secret ingredients or professional equipment; it requires respect for technique and willingness to practice. I also discovered that the hardest part isn't actually the rolling—it's patience with cooling the rice and accepting that your first roll might look imperfect but will still taste wonderful. Once I stopped chasing restaurant perfection and started focusing on clean flavors and proper temperatures, everything got better.
Making This a Celebration Dish
California rolls have become my go-to for casual entertaining because guests always seem delighted when they realize you rolled them yourself, and the whole process feels less intimidating once you've done it a couple times. I've served these at everything from birthday parties to easy weeknight dinners with friends, and they consistently disappear faster than I can roll them. The beauty is that they look impressive but let you stay in the kitchen with people rather than being stuck at the stove for hours.
Variations That Work Beautifully
Once you've mastered the basic California roll, you can play with variations that feel exciting rather than like failure—swap the crab for cooked shrimp, add pickled vegetables for tang, or layer in some spicy mayo if you like heat. Some of my best rolls have come from looking at what's actually in my fridge and thinking creatively rather than following a recipe exactly. The structure stays the same, but your personal touches are what make these rolls genuinely yours.
- A vegetarian version swaps crab for extra layers of avocado, cucumber, and thinly sliced bell peppers or pickled radish for crunch.
- Sriracha mixed into your mayo transforms these from mild to memorably spicy without overwhelming the other flavors.
- Toasted sesame oil drizzled lightly on the rice before rolling adds a nutty depth that elevates the whole experience.
 Save
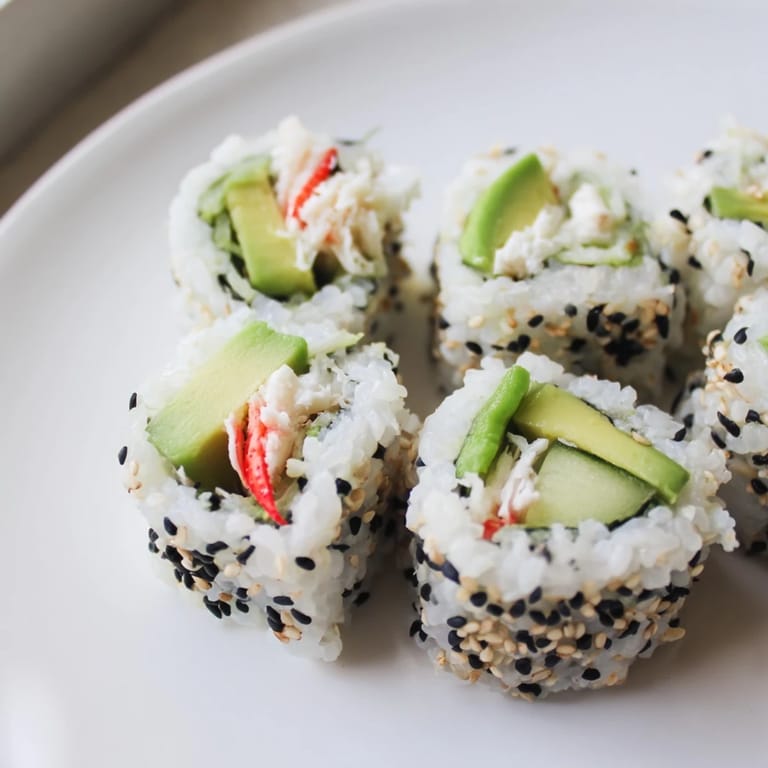
Save These rolls represent something important to me: proof that skill comes from doing something repeatedly, not from being naturally gifted. Every time you roll, you get a little better.
Recipe Questions
- → What type of crab is best for this roll?
Both cooked crabmeat and imitation crab sticks (surimi) work well, providing a sweet, delicate flavor ideal for balancing the creamy avocado and cucumber.
- → How should the sushi rice be prepared?
Rinse until clear, simmer with measured water, then season with rice vinegar, sugar, and salt. Cool to room temperature before assembling.
- → Can I substitute any ingredients for dietary preferences?
For vegetarians, replace crab with extra avocado and cucumber or use tofu to maintain texture and flavor balance.
- → What tools are essential for rolling the sushi?
A bamboo sushi rolling mat covered with plastic wrap and a sharp, damp knife are key for shaping and slicing the roll cleanly.
- → How can I enhance the flavor of the roll?
Adding a spicy mayo with sriracha or pairing with crisp white wine or sake can elevate the taste experience.