 Save
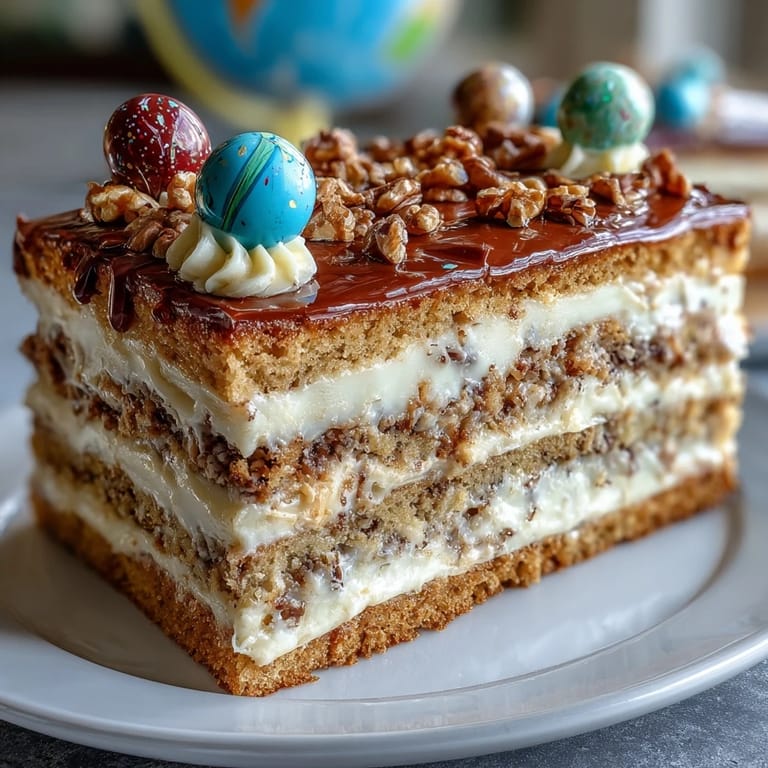
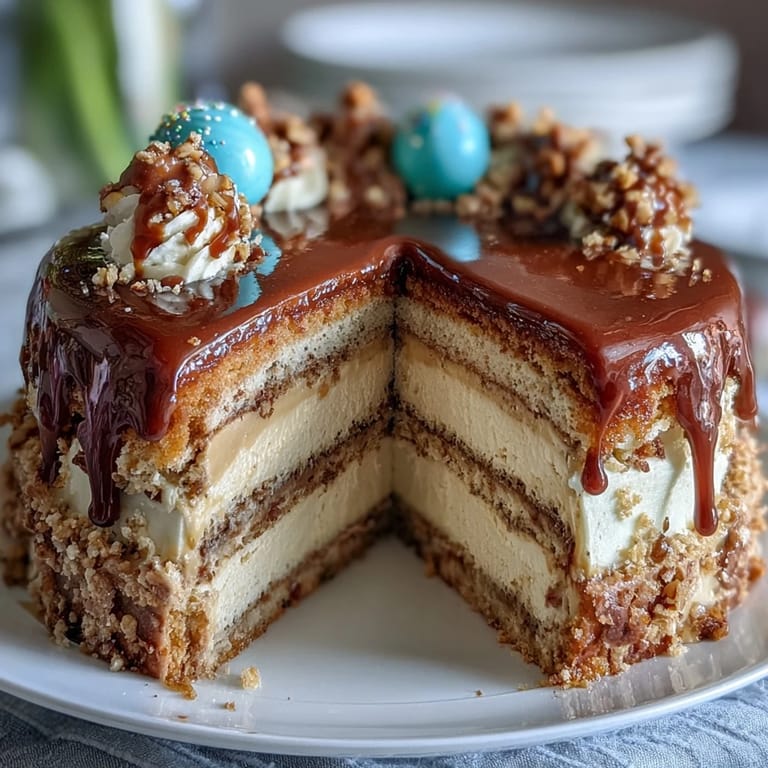
Save My cousin called me three weeks before her graduation, voice shaky with excitement, asking if I could bake her cake. She wanted something that felt grown-up but still fun, with those little balloon toppers catching the light as people walked past the dessert table. I'd never made a two-tier cake before, but something about her asking made me want to try—and honestly, the moment I pulled those perfectly golden layers from the oven, I understood why people get obsessed with baking for celebrations.
What I remember most isn't just the baking—it's my mom standing in the kitchen as I was frosting, pointing out how the lighter crumb coat made the final layer go on smoother, then casually asking if she could be the one to place the balloon toppers. That cake became this small moment where three generations of us were suddenly invested in making something beautiful together, and the graduate cried when she saw it, which honestly made the whole effort feel sacred.
Ingredients
- All-purpose flour: This is your cake's structure—don't sift it before measuring or you'll end up with a dense crumb, which I learned the hard way the first time.
- Baking powder: The silent hero that gives you that light, tender texture that makes people say your cake tastes homemade in the best way.
- Granulated sugar and butter: When you cream these together until they look like fluffy clouds, that's where the moisture magic happens.
- Eggs: Room temperature is non-negotiable here—cold eggs won't incorporate properly and your batter will look broken and sad.
- Vanilla extract: Use pure vanilla, not imitation, because you'll taste the difference and so will everyone else.
- Whole milk: Room temperature milk helps everything blend together smoothly without temperature shock to your batter.
- Unsalted butter for frosting: This gives you control over the salt level and lets the vanilla shine without competing flavors.
- Powdered sugar: Sift it before measuring so your frosting doesn't end up gritty or overly dense.
- Heavy cream or milk: Add this slowly while mixing so you can reach the exact consistency you want—spreadable but not soupy.
- Gel food coloring: If you're matching school colors, gel works better than liquid because it won't thin your frosting like water-based colors do.
- Balloon toppers: These transform a cake from simple to celebratory in seconds, and they're worth buying pre-made to save yourself time and stress.
Tired of Takeout? 🥡
Get 10 meals you can make faster than delivery arrives. Seriously.
One email. No spam. Unsubscribe anytime.
Instructions
- Prep and preheat:
- Get your oven warming to 350°F while you grease those pans generously and line them with parchment paper—this is where most people skip a step and regret it when cake sticks to the sides. I like to push parchment into the corners and smooth it out so nothing surprises me later.
- Whisk your dry ingredients:
- Combine flour, baking powder, and salt in a bowl, stirring gently with a whisk until everything feels evenly distributed. This prevents lumps of baking powder that taste bitter and metallic when you bite into them.
- Cream butter and sugar:
- Beat these together for a solid 3 to 5 minutes until the mixture looks pale and fluffy, almost like clouds—this incorporates air that makes your cake tender. If you rush this, your cake will be dense and heavy.
- Add eggs one at a time:
- Drop in an egg, beat until it disappears completely into the butter mixture, then add the next one. Rushing this step makes your batter look curdled and sad, even though it usually still bakes fine.
- Alternate wet and dry:
- Start with the flour mixture, add some, then milk, then more flour, always ending with flour—this helps prevent overmixing and keeps your crumb tender. Mix only until you don't see streaks of flour anymore.
- Divide and bake:
- Split the batter between the larger and smaller pans, tap them gently on the counter to release bubbles, then slide them into the oven. The 8-inch cakes will need about 35 to 40 minutes while the smaller ones finish in 25 to 30 minutes.
- Cool properly:
- Let cakes sit in their pans for 10 minutes, then turn them out onto wire racks to cool completely—don't skip this step or your cake will stay warm in the pan and continue cooking, drying out the edges. Complete cooling takes about an hour, and you really need that time.
- Make your frosting:
- Beat softened butter until it's creamy, gradually add sifted powdered sugar while mixing, then add vanilla and salt. Slowly drizzle in milk or cream until you reach a spreadable consistency that isn't too soft.
- Level and layer:
- If your cake tops domed too much, use a serrated knife or cake leveler to make them flat—this gives you a stable base for stacking. Place one 8-inch layer on your cake board, spread frosting, add the second layer, and repeat with the 6-inch cakes.
- Crumb coat first:
- Apply a thin layer of frosting to seal in crumbs, chill for 20 minutes until it sets, then apply your final frosting layer. This step separates people who get beautiful frosted cakes from people whose frosting looks streaky and messy.
- Stack with support:
- Place the smaller tier centered on the larger tier, using dowels or sturdy straws inserted vertically through the bottom layer to support the weight. Without these, your cake will slowly lean and shift through the party.
- Decorate and celebrate:
- Add balloon toppers, sprinkles, or confetti however feels joyful, then step back and admire what you made. The cake is ready to be the center of someone's special moment.
 Save
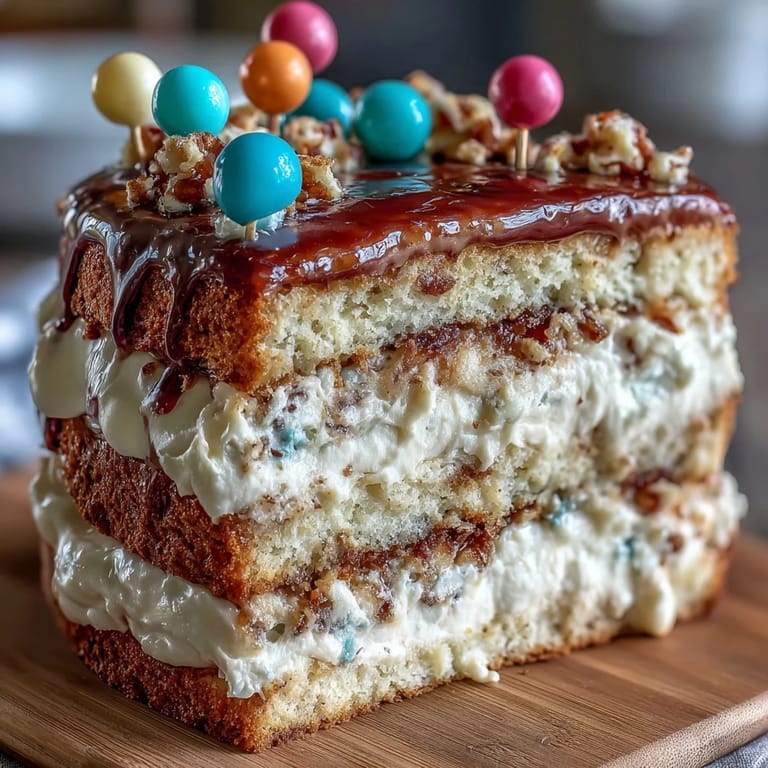
Save The night before the graduation party, I had this moment standing in my kitchen looking at the finished cake on its stand—the way the buttercream caught the light, the balloons perched on top like tiny celebrations suspended in air. My cousin texted a photo to her parents and I felt this warm flush of pride knowing I'd made something that would sit in the center of a room full of people celebrating her becoming a graduate.
Timing and Planning Ahead
One of the biggest gifts you can give yourself is not waiting until the day-of to bake this cake. I baked mine two days early, wrapped the layers individually in plastic wrap, and stored them in airtight containers—they stayed moist and perfect, which meant the morning of the party I could focus entirely on frosting and decorating without panic or rushing. The buttercream also keeps beautifully in the fridge for several days, so you can make it even earlier if life gets hectic leading up to the celebration.
Customizing for Your Graduate
This cake is a blank canvas waiting for personality, and that's what makes it so special for graduations. You can tint the buttercream in school colors, swap vanilla extract for almond or lemon to change the entire flavor profile, or even add a touch of citrus zest to the batter for something brighter and more interesting. I've watched people add everything from edible gold leaf to personalized cake toppers with the graduate's name, turning a simple cake into a genuine keepsake.
Storage and Serving Tips
A frosted, fully assembled cake can sit on your counter for about 8 hours before the buttercream starts looking tired, or you can refrigerate it for up to three days if you need that buffer time. Just take it out about an hour before serving so the buttercream softens back to that creamy texture instead of being hard and cold. If you're transporting the cake, keep it on a sturdy cake board and drive slowly—I learned this when a sharp turn sent my top tier sliding sideways, though thankfully the frosting was flexible enough to fix with a quick spatula adjustment.
- Cut with a hot, dry knife wiped clean between slices for the prettiest presentation.
- Leftovers actually taste better the next day when flavors have settled and deepened.
- Individual slices can be wrapped and frozen for up to two months if somehow you have cake remaining after the party.
 Save
Save Baking a celebration cake is really about showing up for someone on a day that matters, and this recipe gives you the tools to do that beautifully. Every slice you cut and serve becomes part of their graduation memory, which is honestly the sweetest thing about baking.
Recipe Questions
- → How do I ensure the vanilla sponge stays moist?
Use room temperature ingredients, avoid overmixing, and do not overbake. Cooling the layers completely before frosting also helps retain moisture.
- → What is the best way to level cake layers?
Use a serrated knife or cake leveler to trim the rounded tops, creating flat surfaces for stable stacking.
- → Can I prepare the buttercream in advance?
Yes, buttercream can be made ahead and stored chilled. Bring it to room temperature and rewhip before using.
- → How do balloon toppers stay secure on the cake?
Attach balloons to food-safe sticks or wires inserted firmly into the cake, ensuring they are balanced and stable.
- → What alternatives can be used to customize flavor?
Adding almond or lemon extracts to the batter enhances the vanilla base without overpowering the frosting.